Preview window
That brings up the View or Preview. If you just want to see the report, push the View button:
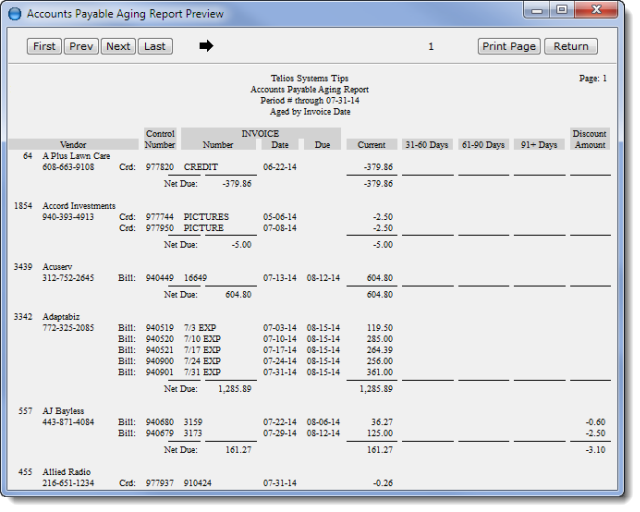
The Preview window will display:
The report preview automatically sizes itself to the dimensions of the printer you have selected. It uses the size, orientation and margin settings to get the printable area and then mimics that size on the screen. This allows the preview to very accurately reflect what the printed report will look like.
There is a line of buttons at the top of the window:
The direction arrow is used with numbers. Press 0 (zero) to change the direction. Press numbers 1 to 9 to move 1 to 9 pages in the direction of the arrow.
- First – First page, displays page one.
- Prev – Display the previous page.
- Next – Display the next page.
- Last – Go to the last page of the report (Best to do this if you’re going to browse).
- Print Page – Print the current page using the printer set on the main window.
- Return – Go back to the main window.
There are also keyboard commands to navigate through the report. right-click to display the context menu:
- Next Page – Same as pushing the Next button. Also Page Up.
- Previous Page – Same as pushing the Prev button. Also Page Down.
- Top – Scroll to the top of the page
- Bottom – Scroll to the end of the page. Since the Preview mimics the printed page, not all of the page will fit in the Preview window. Press B to fill the window from the bottom up.
- First Page – Same as pushing the First button.
- Last Page — Same as pushing the Last button.
- Find Text — Search the document for matching text. An edit field will popup for the search.
- Find Next — Display the next page with matching text.
- Height (toggle) – This increases the size of the height of he preview window. Each time you press H, the window will increase in height by about 10% up to the maximum height possible on the monitor. Once it reaches the maximum height, the window will revert back to the default size.
- Width (toggle) – Like the Height this increases the size of the width of the preview window.
- Restore – resets the size of the preview window to the default.
- Max Screen (toggle) – fills the whole screen with the preview window.
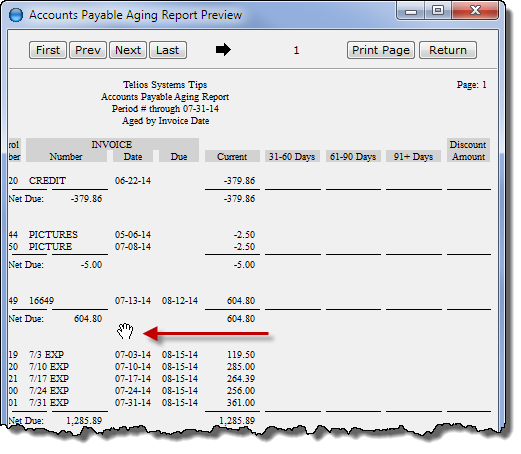
The report preview will always maintain a minimum readable text size. This means that the report may be wider than the viewing area. If that is the case (and you’ll know it because you can’t see the page number – it’s always on the right margin of the page header), you can scroll the report inside the viewing area.
Scrolling
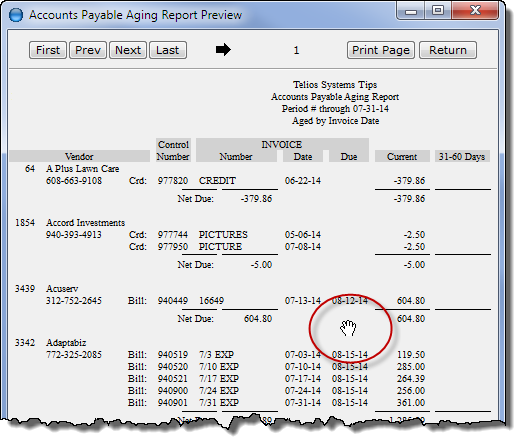
Use the arrow keys to scroll horizontally and vertically on the page, or you can move the content of the Preview window by holding down the left-click and dragging the display. This is especially useful if there are more columns that can fit in the window.
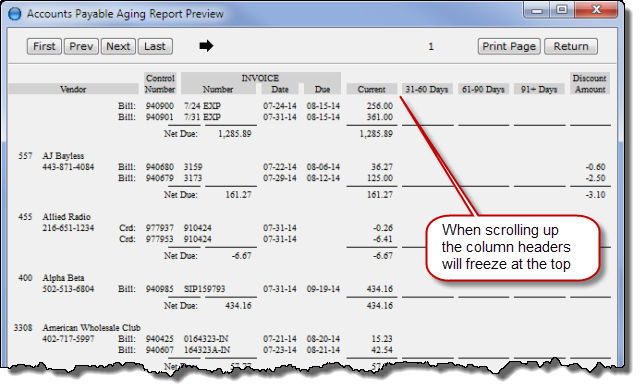
When you scroll vertically, the column headers will freeze at the top of the window:
Search
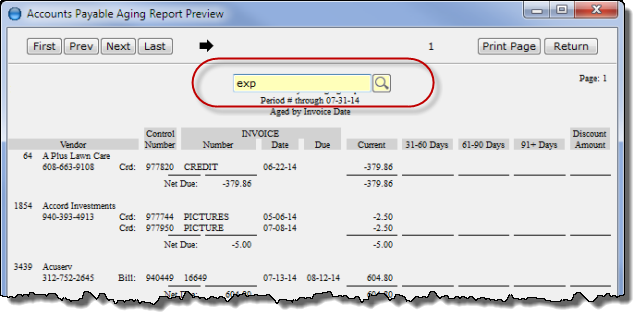
You can search the report for specific text. Use CTRL-F (or right-click for the context menu) to set the find text:
Enter the search text and press Enter:
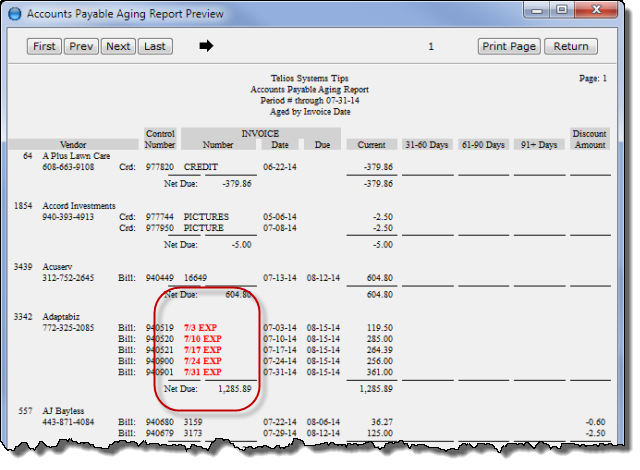
The first page with matching text will display. The matching fields display in red.
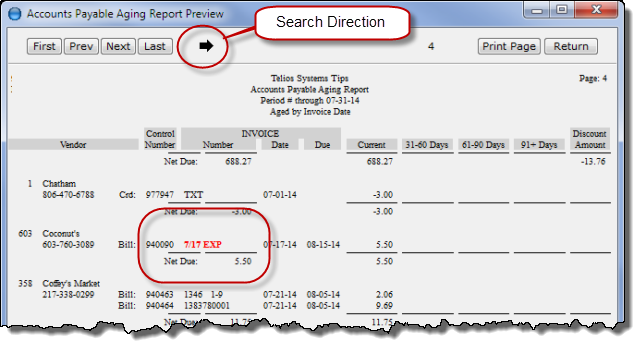
Press CTRL-G to display the next page with matching text.
The default direction of the search is forward to the end of the report (the arrow points to the right). Press the spacebar to change the direction. When the arrow is pointing to the left, each CTRL-G action will display the previous page with matching text.
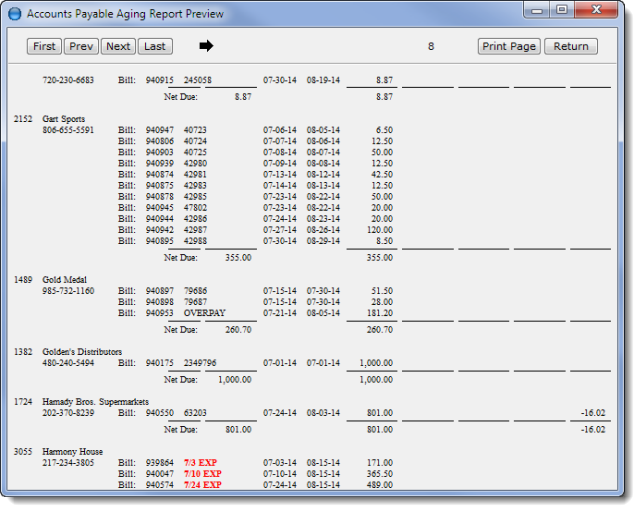
If the first instance of matching text on a page is below the displayed portion of the page, the page will scroll down to display the first match:
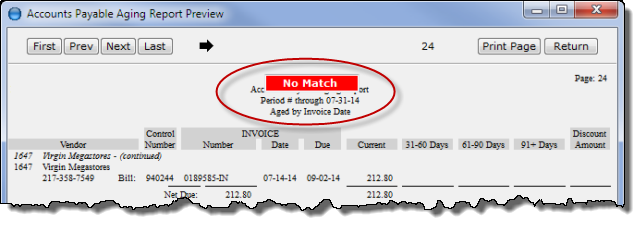
When there is no matching text or no more lines of matching text in the direction of the search, a message will display:
If you intend to look at several places in the report, it is best to push the Last button to load the whole report. The entire report will then be retained in memory. (Otherwise, if you just push the Next button, the report has to load from page 1 to the next page each time).
Then navigate back and forth through the pages to find the spots you want to see.
Preview Jump
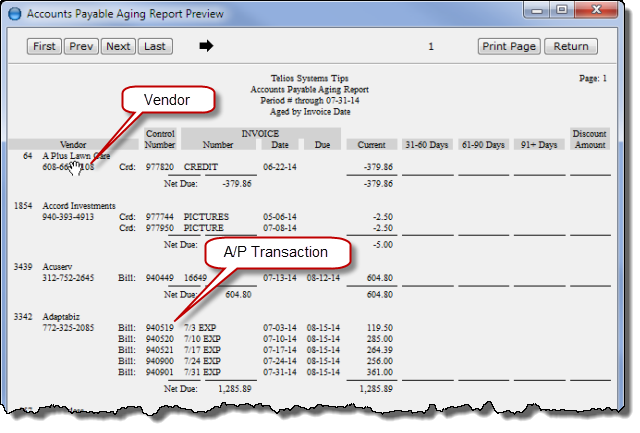
Double left-click on a field to jump to the source document:
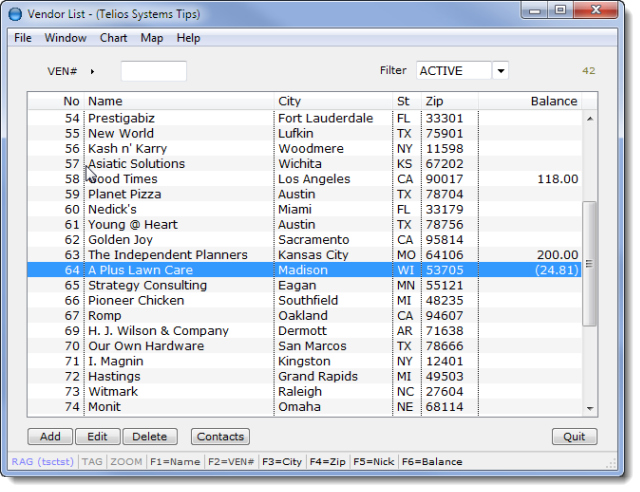
Double-click on the Vendor name or phone number and the Vendor Master list will display centered on the Vendor record:
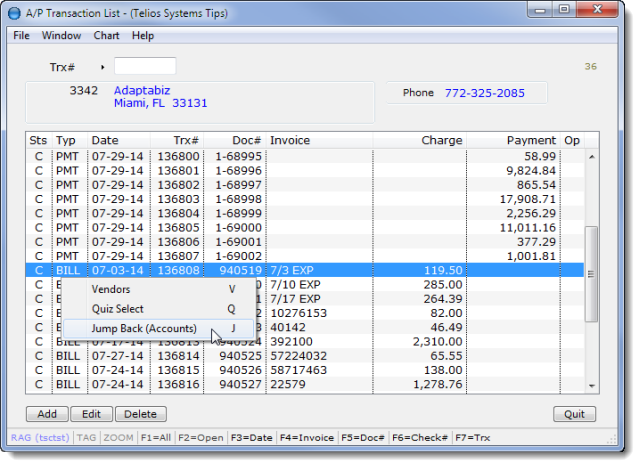
Double-click on a transaction field, (Control number, Invoice number, date, due date, or amount) and the corresponding A/P transaction will display:
The Jump Back will return to the report page.
 Page 1 — printer selection
 Page 2 — the local printers
 Page 3 — tool bar options
 Page 4 — select
 Page 5 — preview window

