Entering a Sales Order

Processing an order in Telios begins in the Sales Order module.

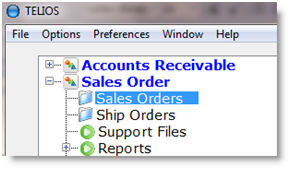
Open the Telios Menu and select Sales Orders. (For more on navigating the menu, see: Telios Menu.)

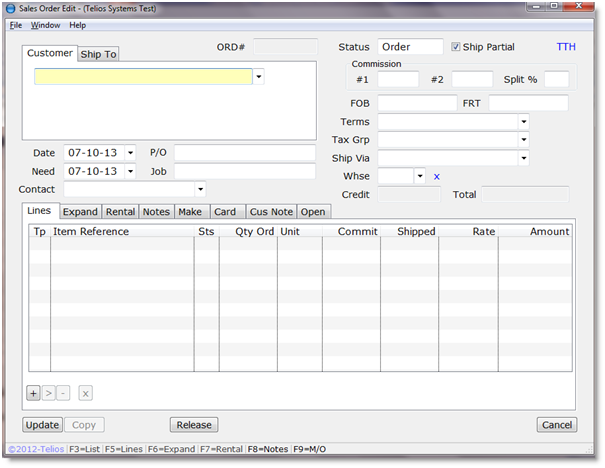
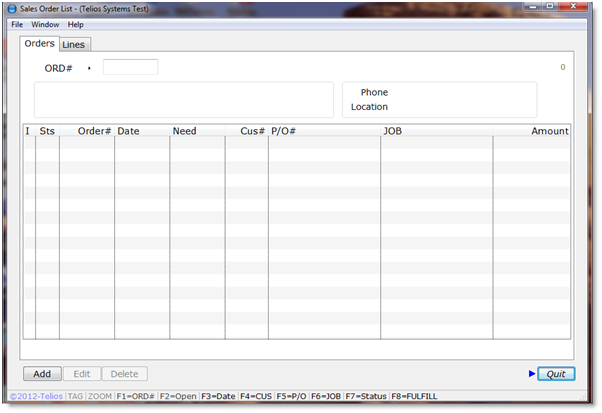
Press “A” to add a new order. The list will hide and you will be taken to the Sales Order Edit window.  For more on list windows, see: List Window. For more on edit windows, see: Edit Window.

Next: Entering the Sales Order Header Information

Selecting a Customer

There are several programs where you will enter a Customer. For example in an Invoice or a Sales Order. The most straight-forward approach is to type in the customer’s name.

By Name

Type the customer name into the Customer field. It will begin autocompleting after the first 3 characters. Once the correct name appears, you can press Enter (or Tab) to go on to the next field. You do not have to finish typing the entire name.

From the List

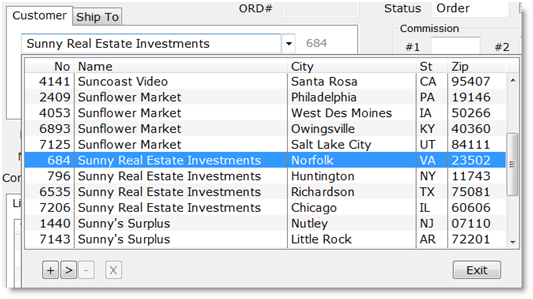
You can press Control-W to open a dropdown list of names, centered on the portion you have typed in. You can also click the disclosure button next to the field, or right-click the field, to get the dropdown.

Click on the name you want, or use the arrow keys to highlight the name and press Enter to select it. Press Escape or click the Exit button to close the dropdown without making a selection.

Page Up / Page Down

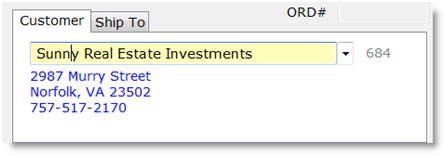
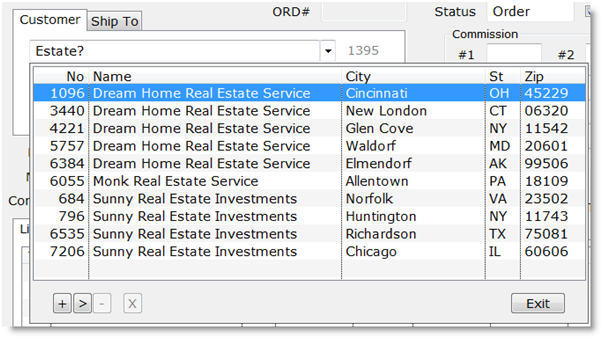
In the Customer entry field, you can use the Page Up and Page Down keys to scroll through the names alphabetically in the entry field. This can be convenient if you know the name you want is just a few names away from what has autocompleted. For example, if I type in “Sunny” as above, I get customer #684.

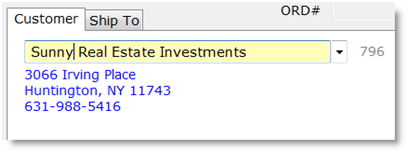
But I have several customers with this same name. So if the one I want is customer #6535, the dropdown list above shows that it is the third customer with this same name. Pressing Page Down advances to customer #796.

Page Down again advances to customer #6535. If you go too far and overshoot the name you want, Page Up moves through the list in the opposite direction.

Search Part of the Name

You can type in any part of the name, followed by a question mark, “?”, and press Enter. You will be presented with a dropdown list of matching names.

Additional Methods

For additional methods of selecting a customer see: Customer & Vendor Lookup

Selecting an Inventory Item

There are many places in the software where you will enter an inventory item: invoices, sales orders, purchase orders, to name a few. There are a lot of different ways to select an item. The most typical way is by part number.
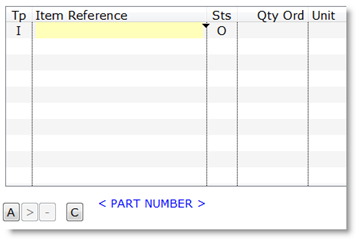
Enter the Part Number into the Item Reference field. The part number will begin autocompleting after you type the third character. You can press Control-W (or click the disclosure triangle, or right-click the field) to get a dropdown of inventory parts, centered on the portion you have typed in. You can type in any part of the part number followed by “?” and press Enter to get a list of matching inventory parts.

There are several other ways of looking up an inventory part. The bottom of the window lists them.

You can look up inventory by

  • SKU number
  • Part Number
  • Description
  • Manufacturer / Part Number
  • Record number (the Inventory record number)
  • Customer Part Number (an alternate part number that this customer uses to identify the inventory part.

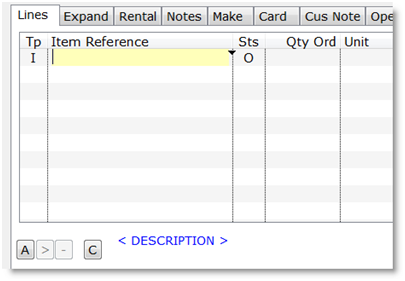
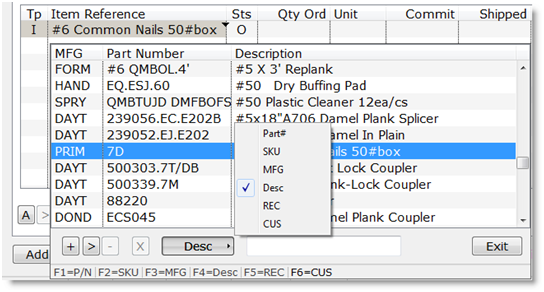
To change the lookup sequence, click on one of the options, or enter the single character (“S”, “P”, “D”, “M”, “R”, or “C”) followed by Enter. The display below the list will change to reflect the new lookup sequence. For example, type in “D” and Enter.
The Inventory dropdown has its own search field. Type Control-W (or click the disclosure triangle, or right-click the field) to get the Inventory dropdown window.
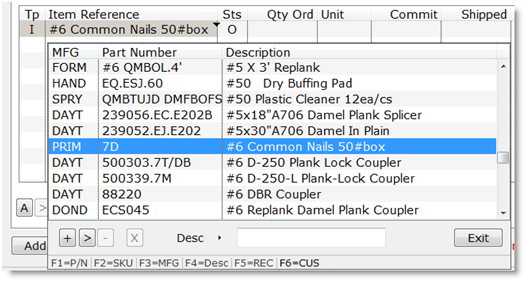
You can use the Function Keys, F1 through F6, to change the lookup sequence, as displayed at the bottom of the dropdown. Or you can click the sequence name and get a list of options.
You can even add or edit part numbers on the fly by clicking the small buttons (“+”, “>”, “-“). If you do not have permissions for an action, the corresponding button will be grayed out. In this example, I do not have permission to delete an inventory item, so the “-“, Delete, button is not active.
Managing Ship To Addresses

The ship-to addresses are saved in a list linked to the customer. You can add and edit ship-to addresses in several places, including the Ship To Editor and in the Customer Master. But you can also add them on the fly while you are entering an invoice or sales order.

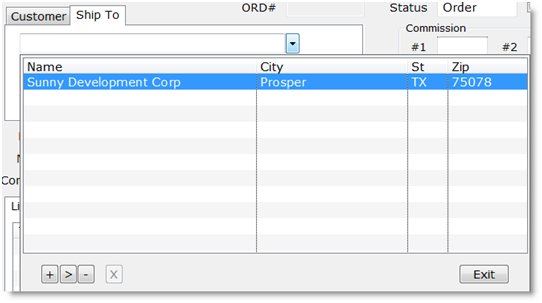
The entry field for a ship-to address has a dropdown list of addresses for the current customer. Press Control-W or click the disclosure button to display the dropdown list of addresses.

The dropdown is actually an edit window. The small “+”, “>”, and “-” buttons control the editing functions:

  • Click the “+” button, or press “A” on the keyboard, to add a new address
  • Click the “>” button, or press “E” on the keyboard, to edit the currently highlighted address
  • Click the “-” button, or press “D” on the keyboard, to delete the highlighted address.

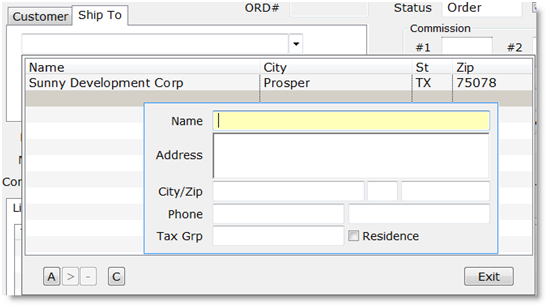
The buttons change caption to reflect the state of the editing process. Click “+” to add a record, and the buttons change to

Notice that the “+” button has changed to “A” to indicate that clicking it will complete the Add process. The “>” and “-” (edit and delete) buttons are grayed out, and the “X” button, which was disabled previously, is now enabled and labeled with a “C”, for Cancel. Likewise, if you click the “>”, Edit, button, the buttons change to

Now the “+” and “-” (add and delete) buttons are grayed out and the “>” Edit button has changed to “U”, for Update, and the Cancel button is active again.

If you click the “-” Delete button, the buttons change to

Now the “+” and “>” (add and edit) buttons are grayed out, and the “-” Delete button has changed to “D”, for Delete confirmation. Click it again, or press “D” on the keyboard, and the record will be deleted. If you change your mind and do not want to delete the record, click the “C” Cancel button, or press Escape on the keyboard.

File Name Options in Quiz and the Scheduler

In Quiz and the Background Schedule Task programs you can assign a fixed file name for the output of a report. The output format can be PDF, spreadsheet (in report or row formats), comma delimited or tab delimited.

We have added the ability to format the file name with variable embedded information.

  • Quiz (sqrstd.exe) version 1.1.6.50+
  • Schedule Task (smtask.exe) version 1.1.1.52+
  • Server Schedule Task (smtasksrv.exe) version 1.1.1.34+

The variable data is enclosed with < (left) and > (right) angle brackets.

For example, a file name is set as: “c:\temp\testfile.pdf”

Embedded Date fields:

  • “c:\temp\testfile <yyyy-mm-dd>.pdf” —  testfile 2013-01-01.pdf
  • “c:\temp\testfile <mm-dd-yy>.pdf”testfile 01-01-13.pdf
  • “c:\temp\<yyyy-mm>testfile.pdf”2013-01testfile.pdf
    • yy or yyyy — year
    • mm — month
    • dd — day

The date parts can be anywhere in the file name, in any order. They are replaced with the corresponding parts of the report date (or the trigger date if set in the Scheduler).

Embedded Number field:

  • “c:\temp\testfile <yyyy-mm-dd  ##.pdf”testfile 2013-01-01 00.pdf
  • “c:\temp\<###  mm-dd-yy> testfile.pdf”000 01-01-13 testfile.pdf
  • “c:\temp\testfile <###>.pdf” testfile 000.pdf
  • “c:\temp\<###>testfile.pdf” 000testfile.pdf
    • the # (pound) sign sets the position of the sequential number in the file name.
    • the number of # signs sets the maximum number that can be assigned: # = 0-9; ## = 00-99; ### = 000-999, etc.

The report program will look up the exact file name (with the variable date if present) starting with zero.  If that file already exists, the number is incremented by one until a matching file is not found. If all the possible numbers are used up, the file with the highest number will be overwritten. In the example above — testfile 2013-01-01 00 — testfile with that same date would have to be printed 100 times before the number ran out (00-99).

All of the embedded information must be contained in one set of left and right angle brackets.

Finding Stuff — Zoom

In the Finding Stuff series, there are a number of ways to find and filter data: wildcard, zoom, find, select and Quiz Select.

This article is on ZOOM.

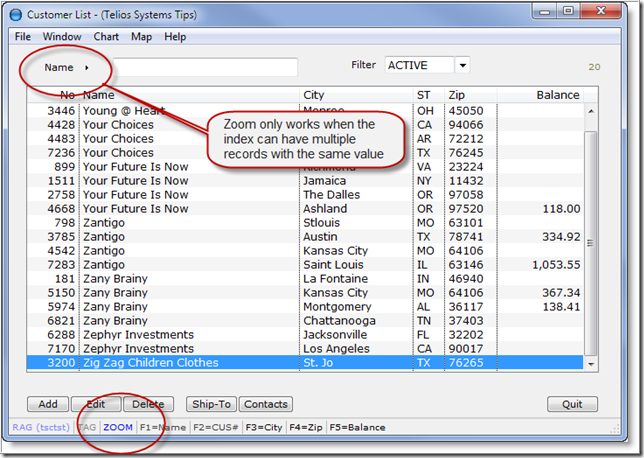
Zoom is a filter on a Telios list. The filter is set from the column value of the highlighted column. Clear?

Okay, here is an example. We go into the Customer Master in Telios:

0007 RAG 7-11-2012

The status bar displays ZOOM if the list supports zoom.

Continue reading…

Finding Stuff — Find

This series on finding stuff has wildcard, zoom, find, select and Quiz select.

So what’s more basic that Find itself?

This function is standard on virtually every Telios list. Okay, probably not on all the popups, but just about everywhere else.

So, how does it work? We look at the main Sales Order list for an example:

0009 RAG 7-17-2012

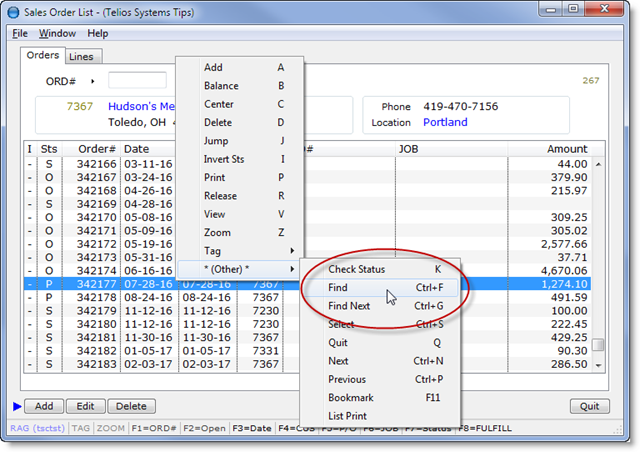
For the sake of documentation, the Find options are located on the context menu (right-click or press M, or CTRL + SHIFT + F10). On most of these menus they are buried in the “Other” category – primarily because CTRL-F and CTRL-G are pretty much the standard for the find and find next functions.

More…

Jump

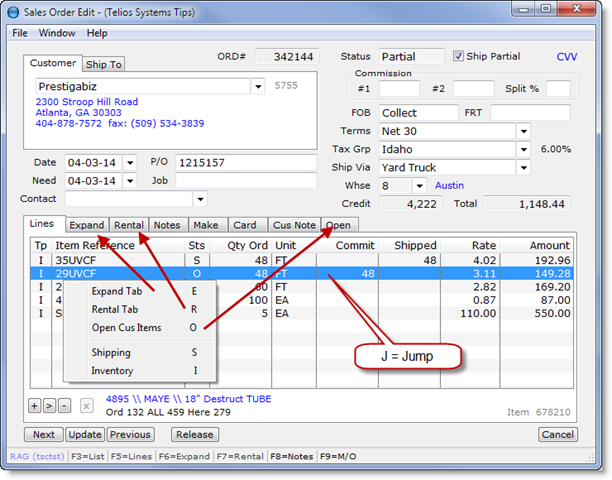
Many of the records are related to one another. A Sales Order produces Shipping Orders, which produces Accounts Receivable Invoices. On the Sales Order there are line items which draw stock from Inventory, produce Make Orders, items from Purchase Orders.

Jump is the means of getting from one of these references to the other. It is our means of “drilling down” from one piece of data to another.

The programs remember the path that you travel while you are jumping from one record to the next. You can always go back the same way that you came.

So, let’s look at an example starting with a Sales Order:

00 RAG 7-28-2012

Next – the Jump >