Entering a Sales Order

Processing an order in Telios begins in the Sales Order module.

Open the Telios Menu and select Sales Orders. (For more on navigating the menu, see: Telios Menu.)

Press “A” to add a new order. The list will hide and you will be taken to the Sales Order Edit window.  For more on list windows, see: List Window. For more on edit windows, see: Edit Window.

Next: Entering the Sales Order Header Information

Selecting a Customer

There are several programs where you will enter a Customer. For example in an Invoice or a Sales Order. The most straight-forward approach is to type in the customer’s name.

By Name

Type the customer name into the Customer field. It will begin autocompleting after the first 3 characters. Once the correct name appears, you can press Enter (or Tab) to go on to the next field. You do not have to finish typing the entire name.

From the List

You can press Control-W to open a dropdown list of names, centered on the portion you have typed in. You can also click the disclosure button next to the field, or right-click the field, to get the dropdown.

Click on the name you want, or use the arrow keys to highlight the name and press Enter to select it. Press Escape or click the Exit button to close the dropdown without making a selection.

Page Up / Page Down

In the Customer entry field, you can use the Page Up and Page Down keys to scroll through the names alphabetically in the entry field. This can be convenient if you know the name you want is just a few names away from what has autocompleted. For example, if I type in “Sunny” as above, I get customer #684.

But I have several customers with this same name. So if the one I want is customer #6535, the dropdown list above shows that it is the third customer with this same name. Pressing Page Down advances to customer #796.

Page Down again advances to customer #6535. If you go too far and overshoot the name you want, Page Up moves through the list in the opposite direction.

Search Part of the Name

You can type in any part of the name, followed by a question mark, “?”, and press Enter. You will be presented with a dropdown list of matching names.

Additional Methods

For additional methods of selecting a customer see: Customer & Vendor Lookup

Selecting an Inventory Item

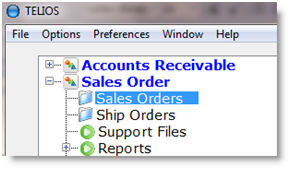
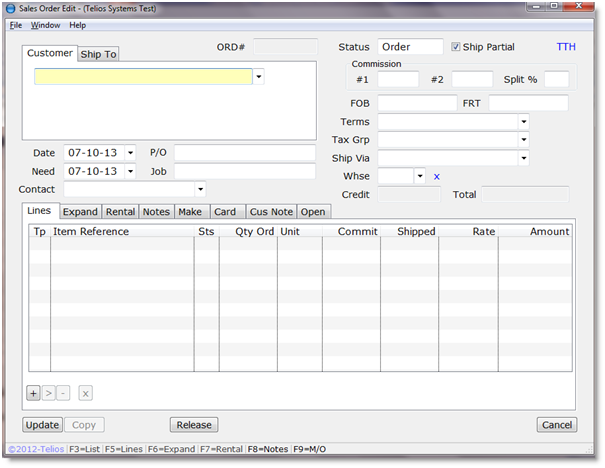
There are many places in the software where you will enter an inventory item: invoices, sales orders, purchase orders, to name a few. There are a lot of different ways to select an item. The most typical way is by part number.

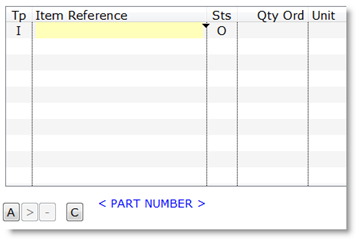
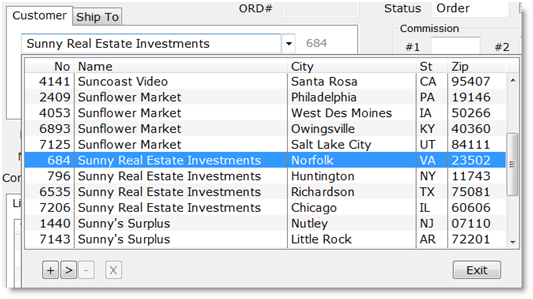
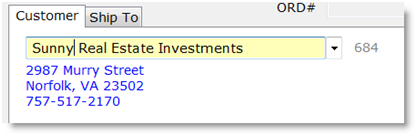
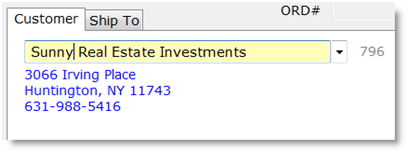
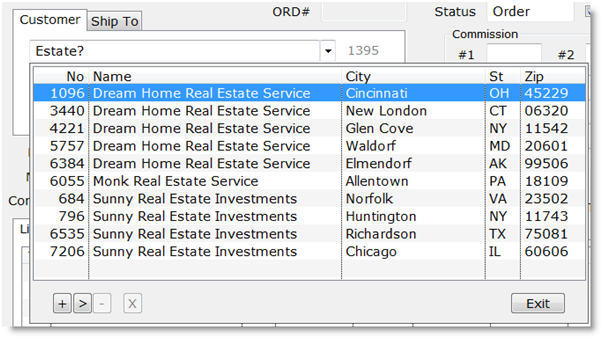
Enter the Part Number into the Item Reference field. The part number will begin autocompleting after you type the third character. You can press Control-W (or click the disclosure triangle, or right-click the field) to get a dropdown of inventory parts, centered on the portion you have typed in. You can type in any part of the part number followed by “?” and press Enter to get a list of matching inventory parts.

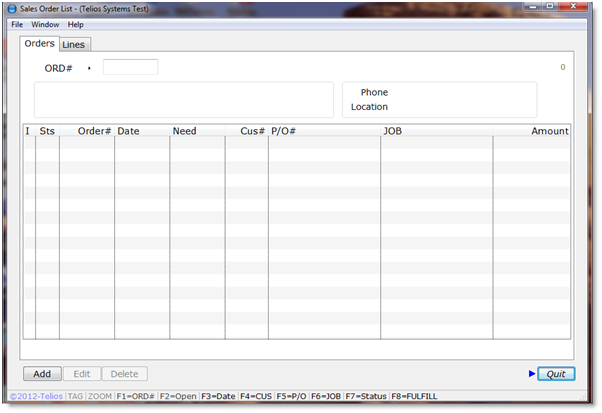
There are several other ways of looking up an inventory part. The bottom of the window lists them.

You can look up inventory by

  • SKU number
  • Part Number
  • Description
  • Manufacturer / Part Number
  • Record number (the Inventory record number)
  • Customer Part Number (an alternate part number that this customer uses to identify the inventory part.

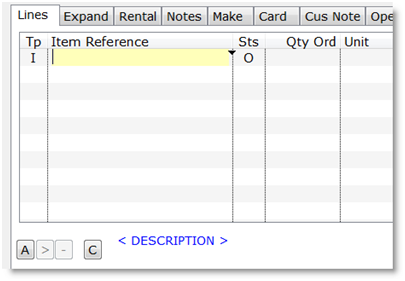
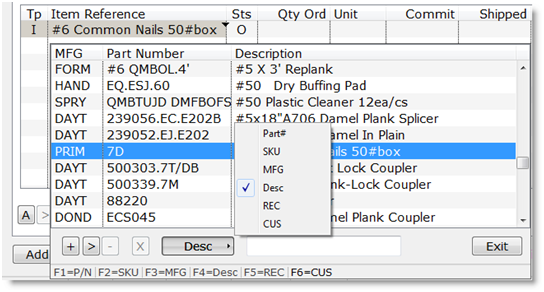
To change the lookup sequence, click on one of the options, or enter the single character (“S”, “P”, “D”, “M”, “R”, or “C”) followed by Enter. The display below the list will change to reflect the new lookup sequence. For example, type in “D” and Enter.

The Inventory dropdown has its own search field. Type Control-W (or click the disclosure triangle, or right-click the field) to get the Inventory dropdown window.

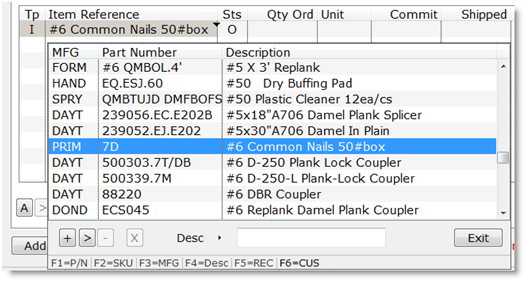
You can use the Function Keys, F1 through F6, to change the lookup sequence, as displayed at the bottom of the dropdown. Or you can click the sequence name and get a list of options.

You can even add or edit part numbers on the fly by clicking the small buttons (“+”, “>”, “-“). If you do not have permissions for an action, the corresponding button will be grayed out. In this example, I do not have permission to delete an inventory item, so the “-“, Delete, button is not active.