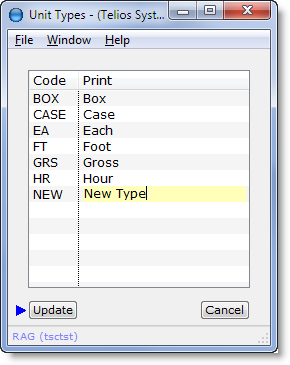
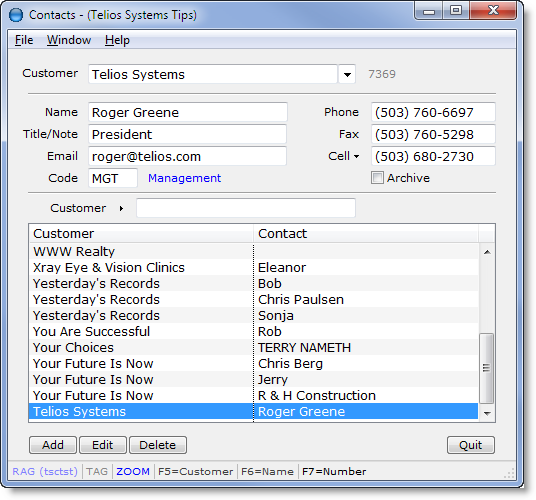
The add, edit and delete actions are done within the list box:
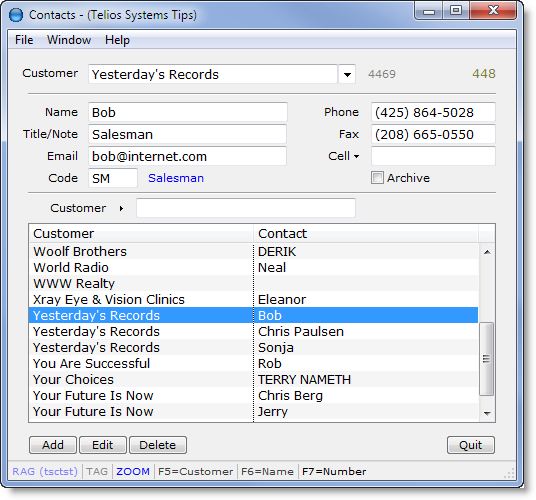
Where there are more fields to edit than will fit on the list box, the fields will display, usually above the list:
The fields above the list are populated from the values of the highlighted record on the list. In the above example, all of the fields are edited above the list.
Add:
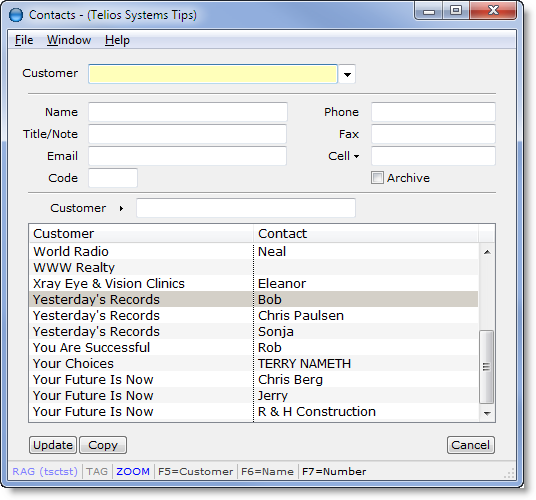
Press A from any line on the list, or click on the Add button:
The first field will receive the focus. The button captions change to Update, Copy, and Cancel.
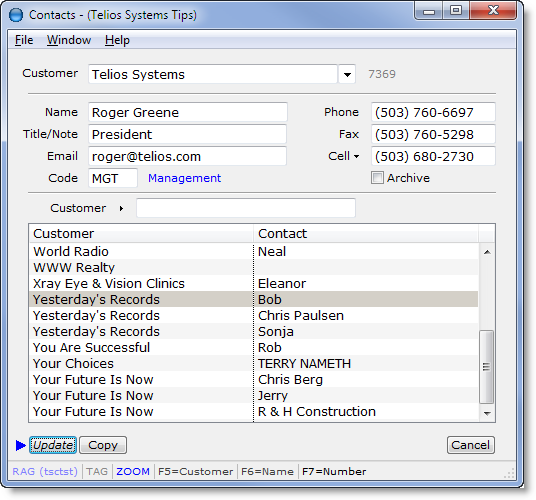
When you are finished with the fields, the focus will drop to the Update button. Press ENTER to complete the add or Cancel to abort. The new record will display in the List at the bottom:
Edit:
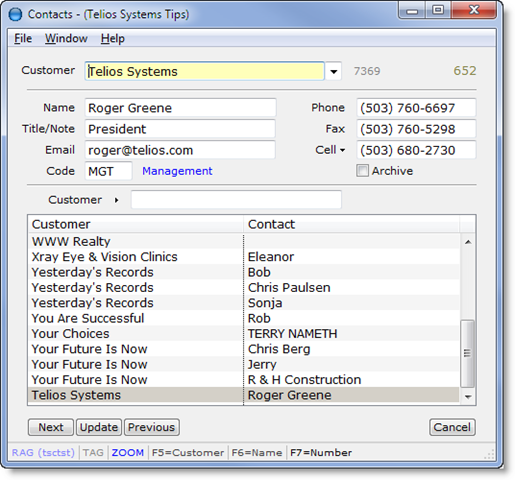
To edit a record, move the highlight to the record. Then press ENTER or E (edit). Or with the mouse double click on the highlighted line or click on any field. The button captions will change to Next, Update, Previous, and Cancel. Focus will be on the first field:
Changes will be saved unless you click on the Cancel button, or press ESC while the focus is on any of the buttons or press F4 (which is the cancel action). You can always drop down to the buttons from the fields by pressing ESC. Then ENTER to save or ESC again to cancel changes.
Delete:
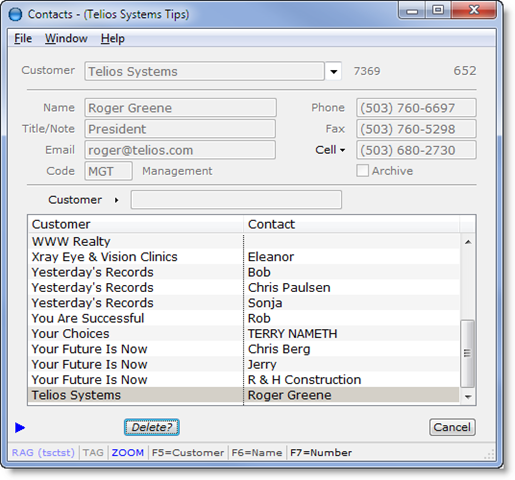
To delete a record, move the highlight to the row you want to delete. Then press D or click on the Delete button.The button captions change to Delete? and Cancel:
All of the fields will be grayed out. Press D again or check on the Delete? button to complete the delete. Click on the Cancel button or press ESC to abort the delete.
Find Field, Field tag and the edit field Calculator described in the article on the Edit Window are also available on these Combo windows.
Zoom, Tag, and Find functions described in the List Window article are available on many of the Combo lists.
