Word number 1 is find. The target or argument for find is a table – the starting point for the report.
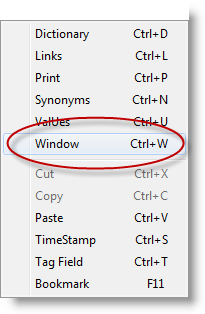
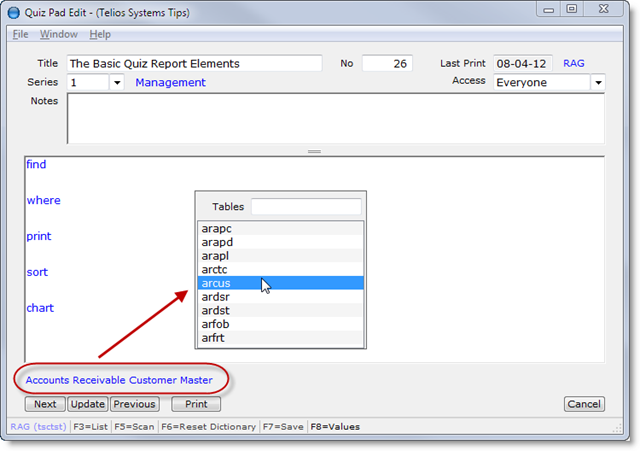
Table names are not usually as descriptive as “Customers”. So how do you find the tables? For that we provide a popup by pressing CTRL-W or right-click to open the context menu:
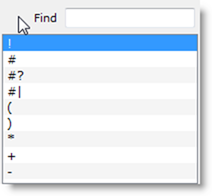
The popup looks like this:
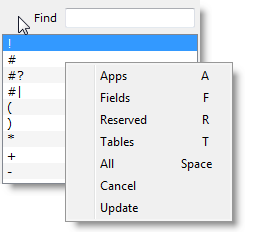
You can drag the popup around the window if it covers up some text. But we wanted to see the tables. Right-click or press M to open the context menu:
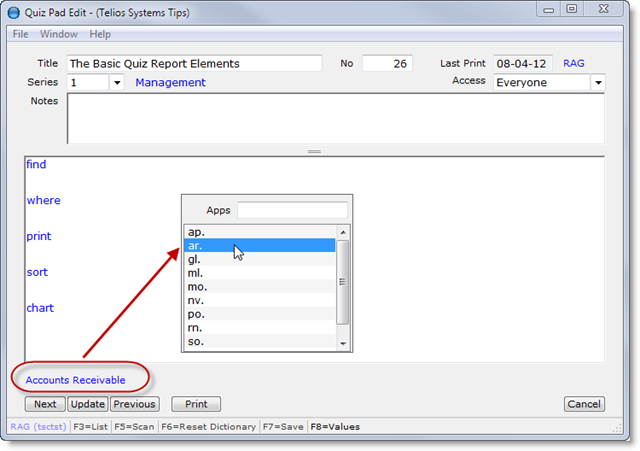
Here there are two possibilities. The first option is to press A to list the applications – which would narrow the choices down a bit:
The Customer table is most likely in Accounts Receivable. If we then press T (for Tables), the popup display will list only the tables in Accounts Receivable:
If we scroll down, the description for each table will display above the buttons. The Customer master table is named arcus.
The second option is to just press T to list all the tables in alphabetical order.
For Telios applications, there is a specific method for the naming of applications and tables. What is called the database table identification or DBID contains five (or sometimes six) characters:
- Applications are identified with two characters.
- The first two characters for every table within an application contains those two characters. The Accounts Receivable application is ar. The Customer Master begins with ar.
- The remaining characters identifies the table: cus.
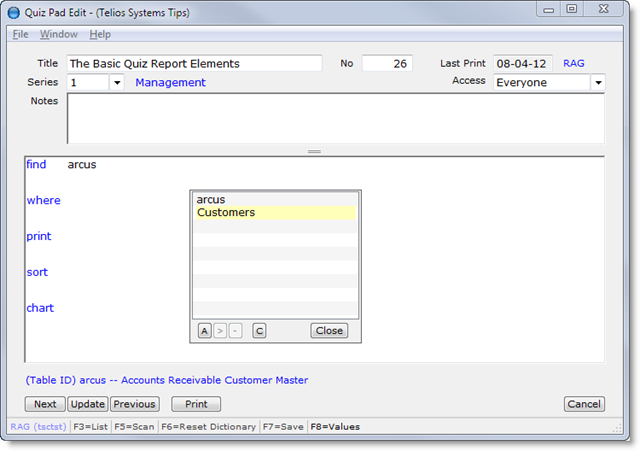
Okay, so it is a bit cryptic. We have a solution for that. Press Enter to select arcus. Then press CTRL-N (or right-click for the context menu) to open the Synonym popup. On this popup you can add a more intelligible name for the Customer master, like “Customers”:
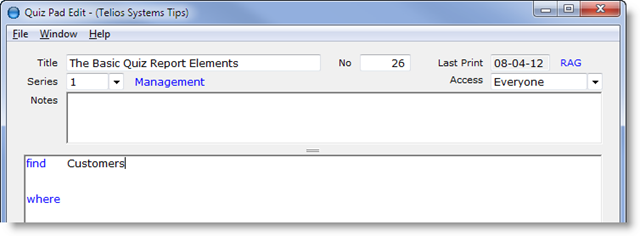
When you complete adding the new name, press ENTER and arcus will be replaced with Customers. You can add as many synonyms for the table as you want. Once you have added the new name, you don’t have to remember the arcus. It will always be Customers.
 Page 1 — the basics
 Page 2 — the result
 Page 3 — the FIVE key words
 Page 4 — find
 Page 5 — where
 Page 6 — print
 Page 7 — sort
 Page 8 — chart
Next – where >
