Entering the Header Information
Type the customer name into the Customer field. It will begin autocompleting after the first 3 characters. Once the correct name appears, you can press Enter (or Tab) to go on to the next field. You do not have to finish typing the entire name.
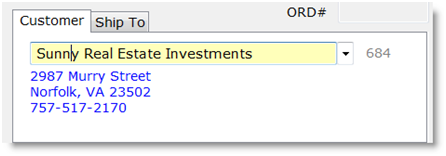
For additional ways to select a customer, see: Selecting a Customer.
Once you have entered the customer, you’ll automatically be taken to the “Ship To” tab, where you can enter the shipping address, if it’s different from the billing address. The ship-to addresses are saved in a list linked to the customer. Press Control-W or click the black triangle for a dropdown list of addresses.
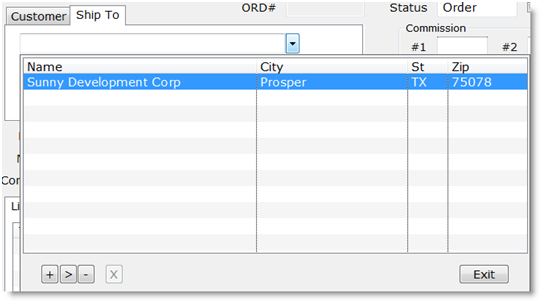
You can add and edit addresses using the “+”, “>”, “-” buttons. See Ship To Addresses for more information.
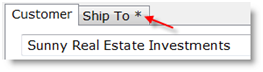
Once you have selected the Ship To address (or left it blank if the address is the same as the billing address), the Customer tab will display again. If you selected a shipping address, the Ship To tab will be marked with an asterisk to indicate that there is an address selected.
You will be taken to the Date field.
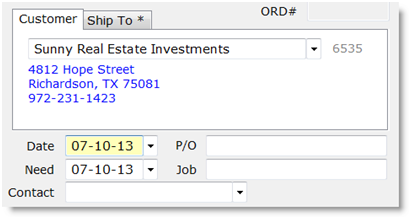
The order Date defaults to the current date. You may change it if you wish. In the Need date field, you can enter the date that the customer wants delivery of the product. You can also use the Need date field for your projected ship date. This can be useful as a management tool, as you can list the outstanding orders by need date.
Enter the customer’s Purchase Order number in the P/O field. You can assign a Job number if you wish. The Job number can be used to group orders, by assigning the same job number to them. You can then list the orders by job number to manage them.
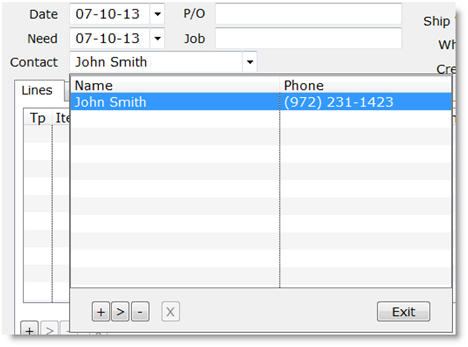
Enter the customer’s contact person for this order in the Contact field. Contact names are stored in a list associated with the customer. You can select a person from the list or add a new contact name in the dropdown.
The rest of the fields in the top portion of the edit window are filled in from the customer master file. If you want to fast-forward through them, press Control-Enter (the key on the main keyboard, not the one on the keypad).
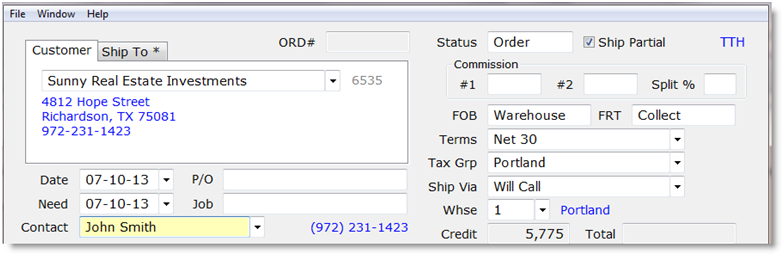
The fields are:
Status – The order status. When you are adding a new order, you can change the status to Quote for a quotation, or leave it as Order, for a regular sales order. Once the order is in process, the status will be updated automatically to reflect the current state of the order.
Ship Partial – Indicates whether the customer will accept a partial shipment for this order. If not checked, the entire order must ship together.
Commission #1 – The primary salesman for the order. The one who will get commission for the order.
Commission #2 – A secondary salesman who will split the commission for this order with the primary salesman.
Split % – If there are two salespeople splitting commission on the order, enter the percent going to the primary salesman.
FOB – Free on Board point. Where the responsibility for the goods changes hands.
FRT – Freight charges: prepaid or collect.
Terms – Payment terms.
Tax Grp – Sales tax designation.
Ship Via – Shipping method.
Whse – Warehouse that the order will be shipped from.
Next – Entering Line Items