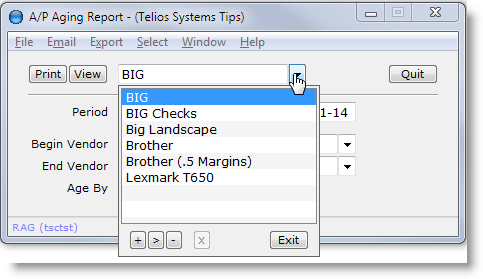
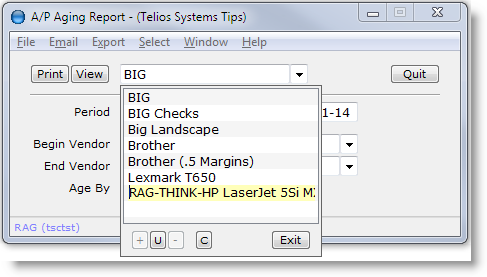
To Add, Edit, or Delete a printer, click on the V button or press CTRL-W or right-click:
The list will contain all the printer configurations that you have added.
The buttons at the bottom of the popup are:
- Add (+)
- Edit (>)
- Delete (–)
- Cancel (X) and
- Exit
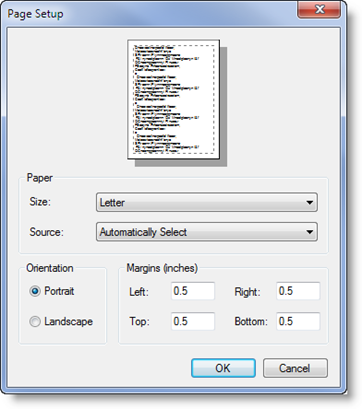
Press A or the + button to add a new logical printer. The Page Setup dialog will display:
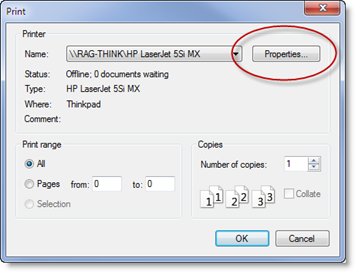
Then press the OK button. The printer selection dialog will display:
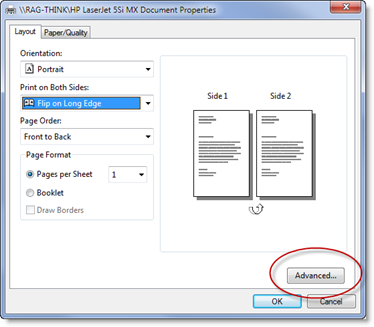
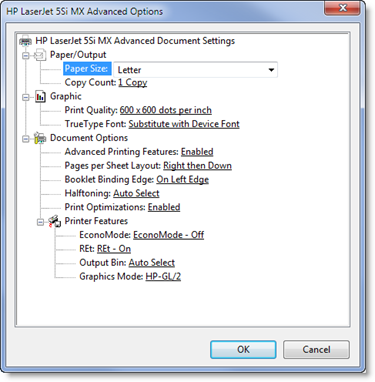
There are more options with the Properties button:
and the Advanced button.
When all the options are set, click OK on each of the windows and the printer will appear on your custom printer list:
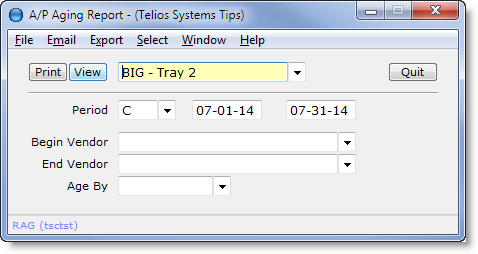
At this point, you can change the name of the configuration, maybe “BIG – Tray 2”. Then press ENTER to select your new printer:
Now, the printer named “Big – Tray 2” will be available for any report printed from your computer, and the next time you print the A/P Aging Report, the program will remember that you used this printer.
 Page 1 — printer selection
 Page 2 — the local printers
 Page 3 — tool bar options
 Page 4 — select
 Page 5 — preview window
Next – Tool Bar options >
